Ingredients
Olives
Sea salt
Water
Apple cider vinegar
Flavourings; lemon, garlic, herbs, chilli?
Summary
Curing olives is a long, sometimes unsettling process, not because it’s arduous, but because before they’re delicious, they’re disgusting and it’s hard to tell when they’ve turned the corner into yum-zone… all this to say, give it a go! We did it for the first time last year and were very impressed with the transformation. Don’t let your backyard/nature strip olives go to waste, get curing!
How to Cure Olives
GF, VG
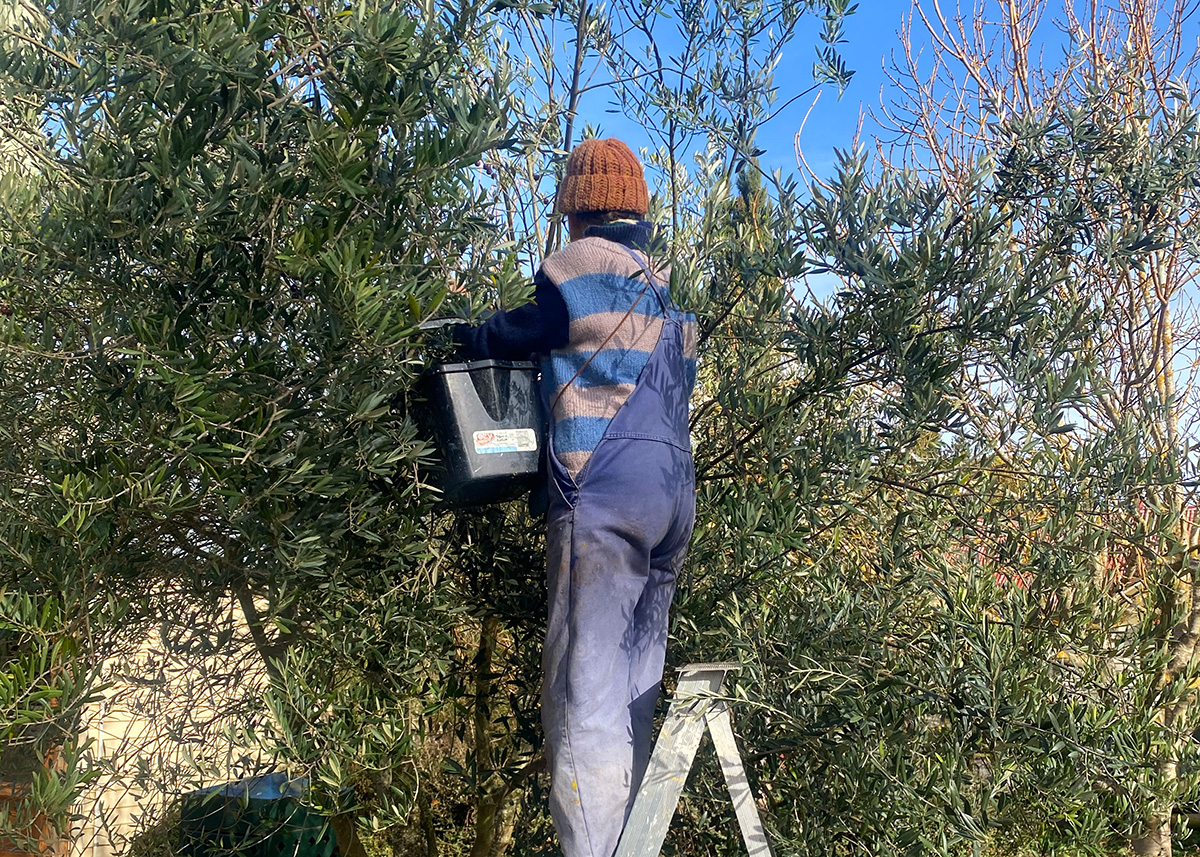
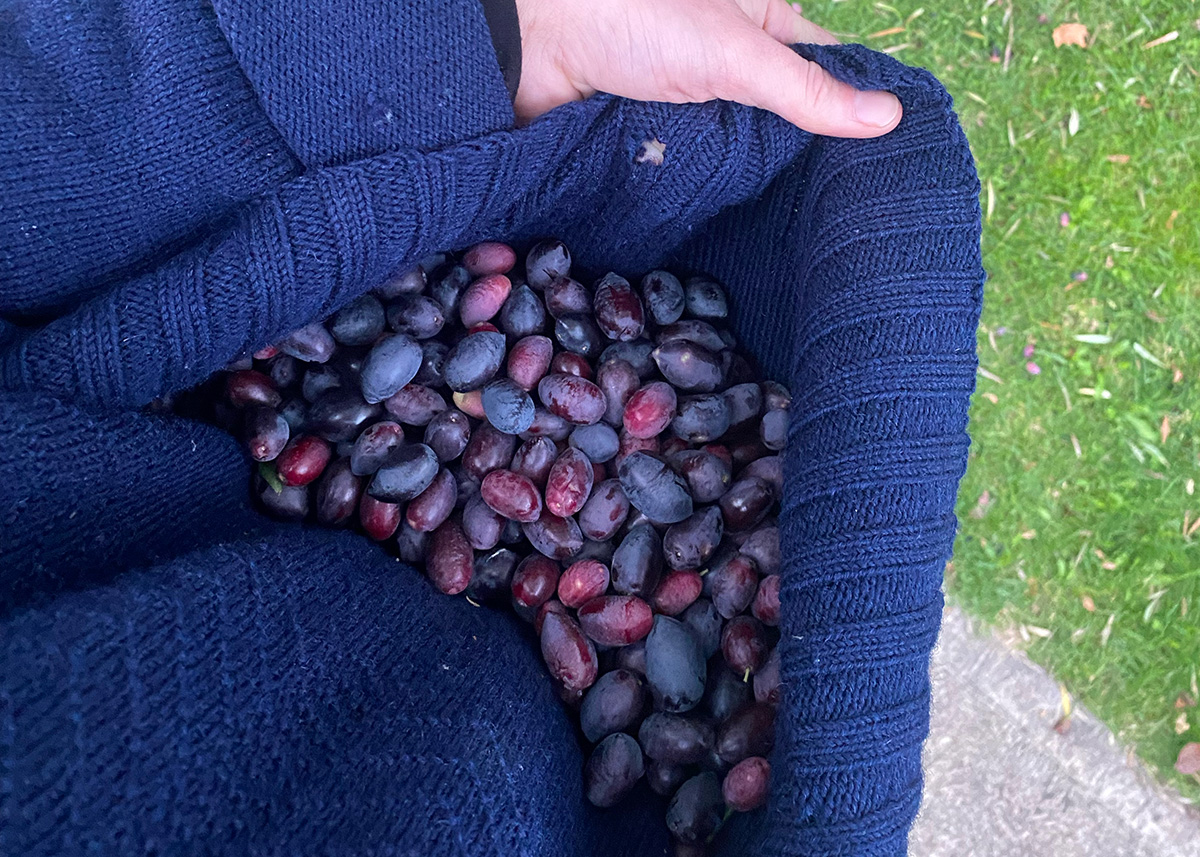
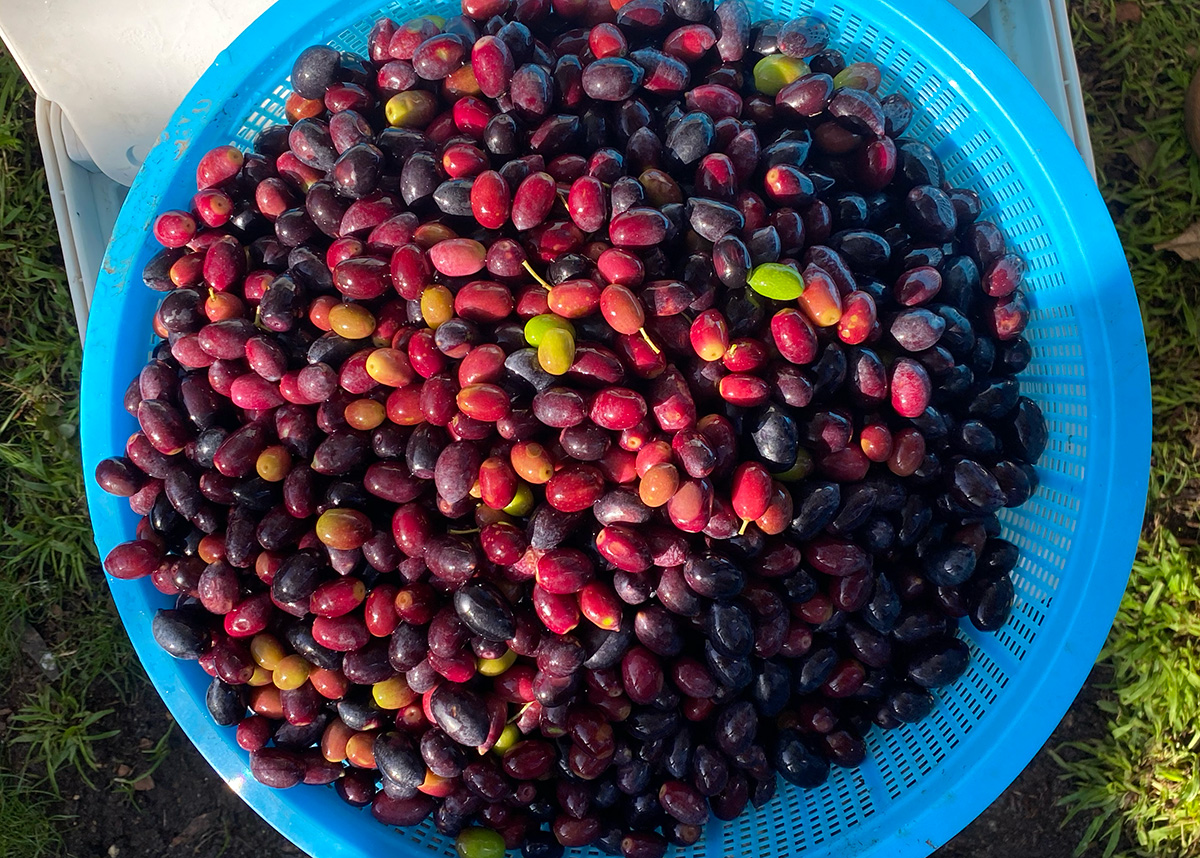
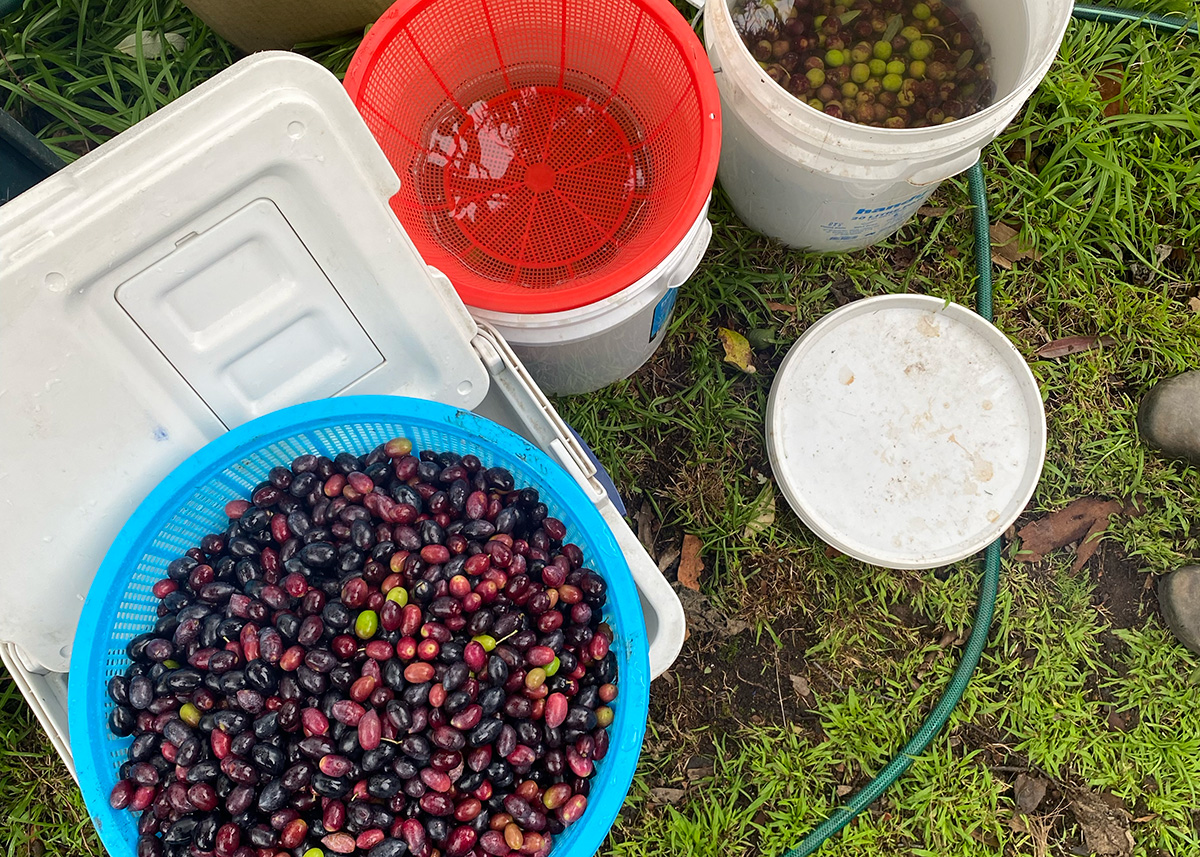
Pick your olives, choosing the fattest, darkest olives. Squeezing an olive should release a milky liquid if it’s ripe enough to brine.
Once picked, if you have a real difference in colours, sort the green ones away from the black ones. The green ones are less mature and will need a little longer to brine and lose their bitterness.
Wash them well and remove any really damaged olives and dry shrivelled olives.
You can choose now to slit your olives, or leave them whole. Slitting each olive will allow the water and salt to penetrate it faster and remove the bitterness. If you leave them whole, they’ll need to sit in a brine a lot longer.
To slit the olives, use a sharp knife to cut a little slit into each olive. Alternatively, you can carefully ‘crush’ your olives with a heavy object such as a meat tenderiser or a flat stone. Crush them enough to just break the skin but not to completely flatten the olives.
Now, give them an initial soak in plain water for a 2 days, changing the water each day. Keep the olives completely submerged in the water (use a plate or weight to hold them under).
Now soak the olives in brine using a ratio of 1 parts uniodized salt to 10 parts water, measured in weight.
Cover the olives with the brine , making sure the olives are again completely submerged. Loosely seal the jar or container with a lid. You will need to open it every couple of days to release some of the gases if the lid is on tightly.
If you have slit or crushed your olives, they will only need to sit in brine for 3-6 weeks depending on taste. If you have left them whole they can sit in brine for up to 6 months or longer.
How often you change the brine is dependant on your environment and how quickly they cure. Changing the brine weekly will leach the bitterness out faster, but if the olives stay submerged and there is no sign of mould, the brine doesn’t need to be changed as often. This will slow down the process though.
If mould is growing, tip the brine out, rinse the olives well and clean the olive container and make fresh brine.
Remove the lid and check the olives weekly.
Taste them after a month or two. If they are still too bitter, keep soaking them until you are happy with it.
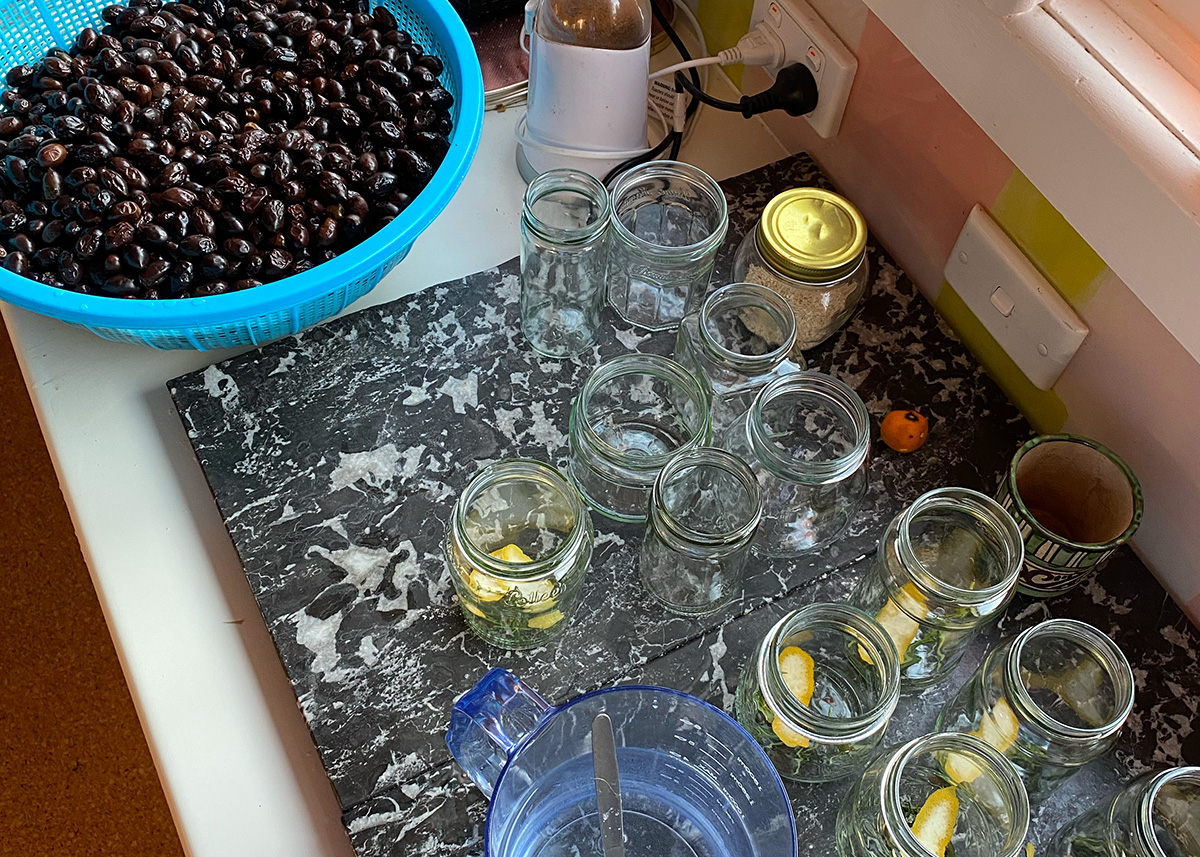
Once the bitterness has gone, it is time to jar up your olives in sterilised jars.
Use a vinegar brine, at a ratio of 2:5:20 salt, vinegar, water. For example, 40g salt, 100g vinegar and 400g water makes about half a litre of vinegar/salt brine.
Add in any other flavourings you like such as lemon, lime, garlic, oregano, rosemary, chilli.
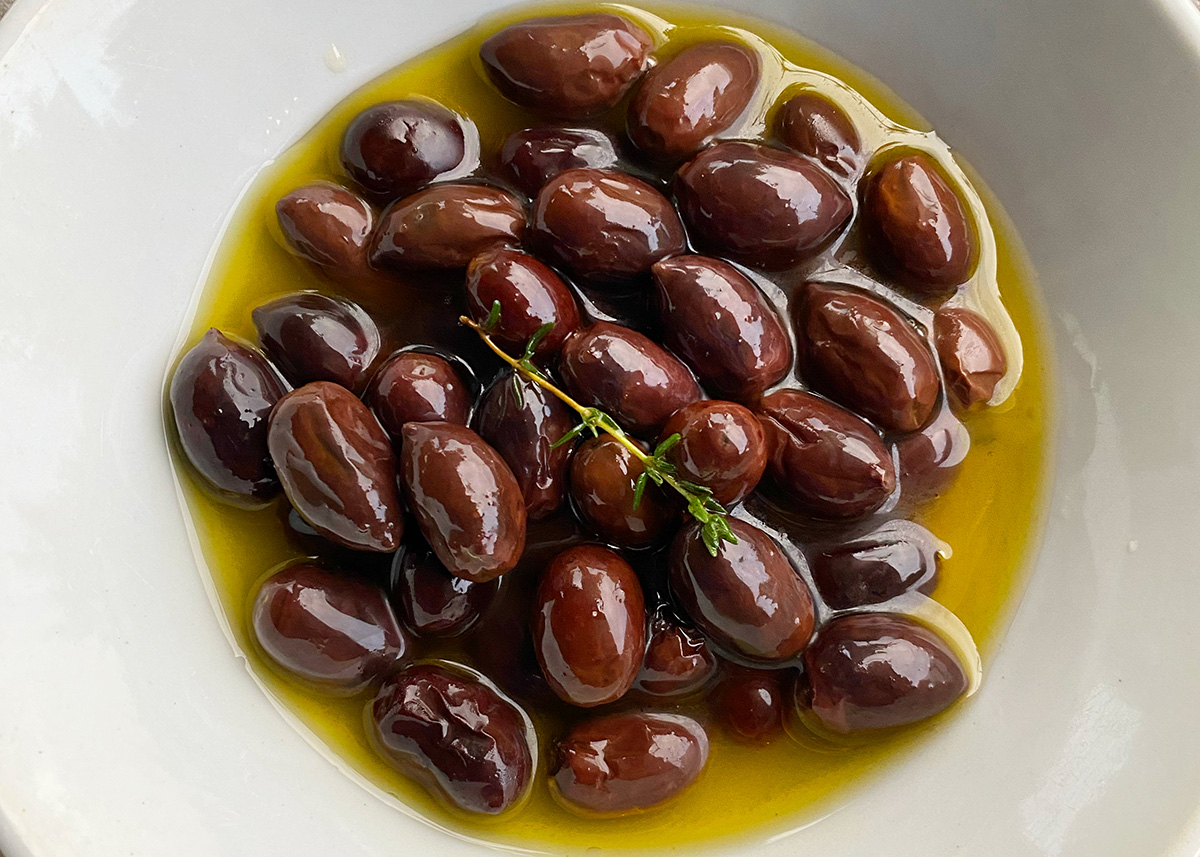
Cover the olives with the vinegar brine and flavourings. Ensure the olives are submerged under the brine. Pour over a thick layer of olive oil which will stop oxygen touching the olives. Screw the lid on the jars, and let them sit for a week to infuse the newly added flavours before sampling.
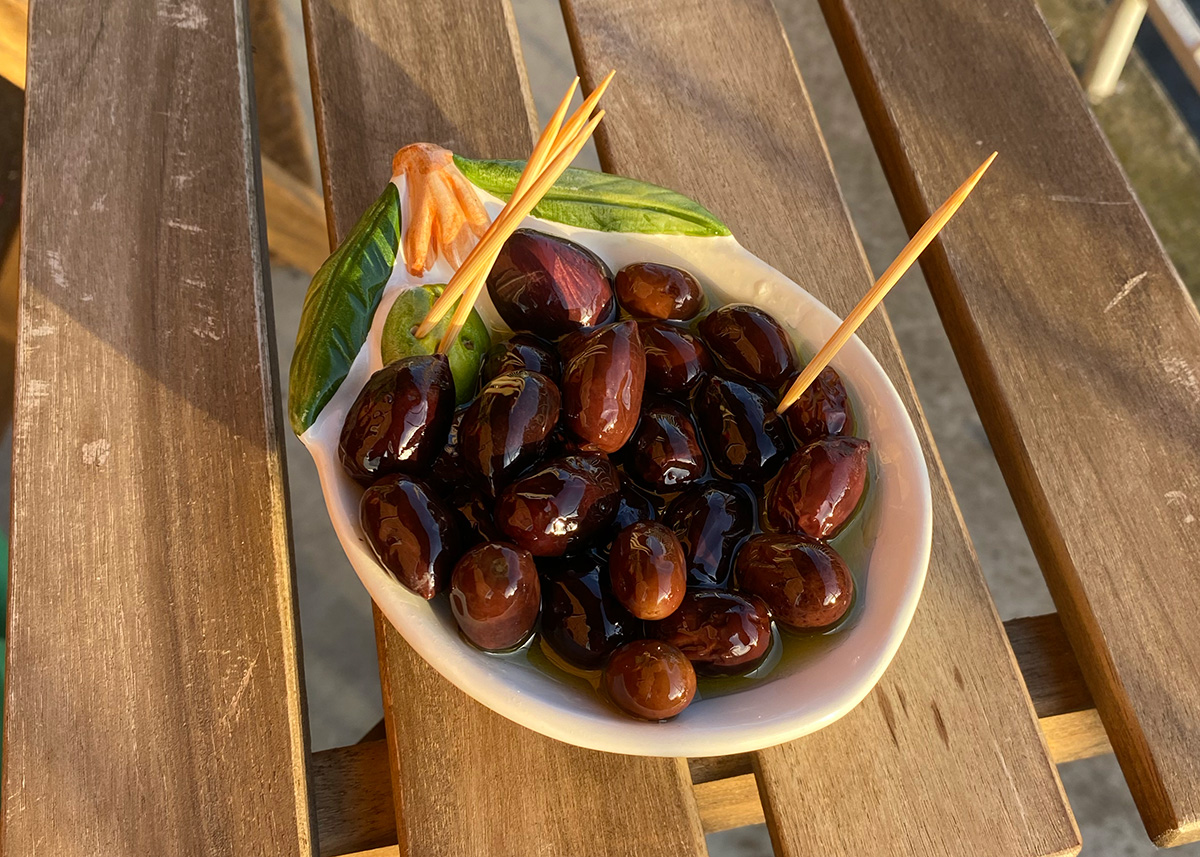
Olives can store in a sealed jar for up 6 months in a cool dark place, or in the refrigerator for up to a year. Once opened keep in the fridge and use within 3 weeks.
Hints and Tips
This recipe is by Home Grown Happiness
